This topic address only the most routine steps of pump rebuild. Should your pump evidence stripped threads, and unless you are able to, we recommend you visit your local machine shop for some helicoil work. In the case of cracked housings, etc. you are probably looking at a replacement part or complete pump. Some assemblies in the stock 404.1 require some careful attention when rebuilding. While resurfacing the cylinder head and other similar component parts are best entrusted to a competent machine shop with the requisite tools, two items in the fuel system can be attended to by the home mechanic with excellent results. They are the carburetor and the fuel pump. Although just casually mentioned in the workshop manual, this can be accomplished with a little time, some emery cloth and a considerable amount of “elbow grease”. Here’s a how to for the novice:
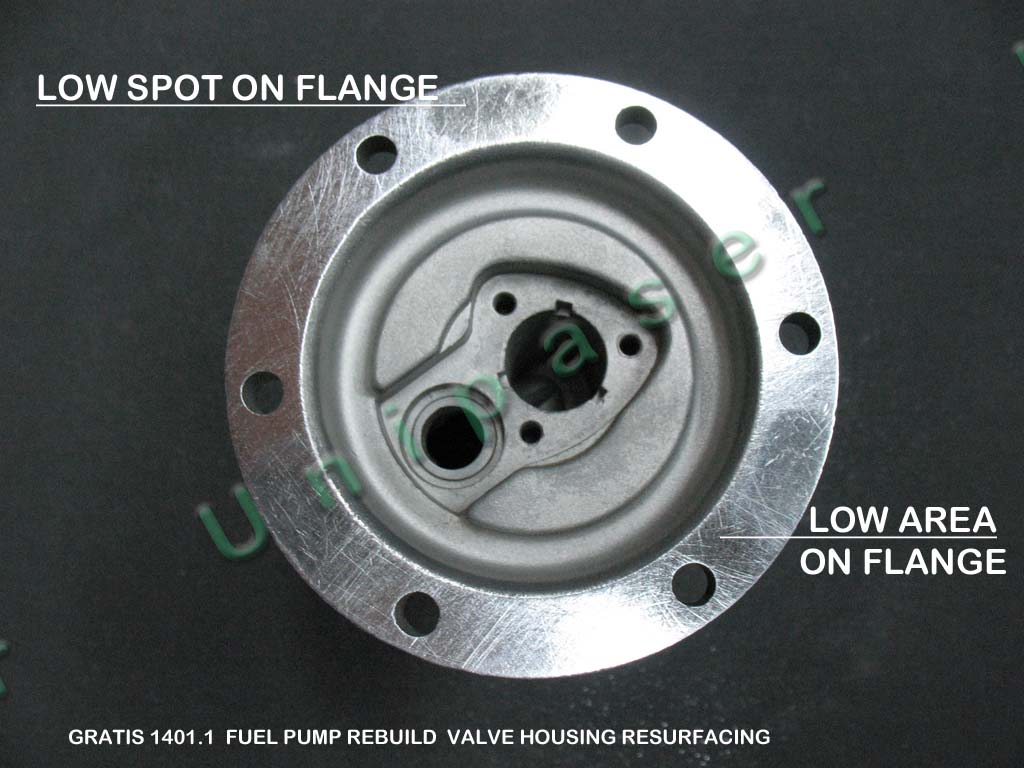
Completely strip the pump and clean in solvent. Some pumps evidence calcification from water deposits over a long period of contamination or disuse. A baking soda solution will assist in the removal of these deposits if media blasting is not available. Media blasting (we use glass bead) is a plus for cosmetics as well, but not mandatory.
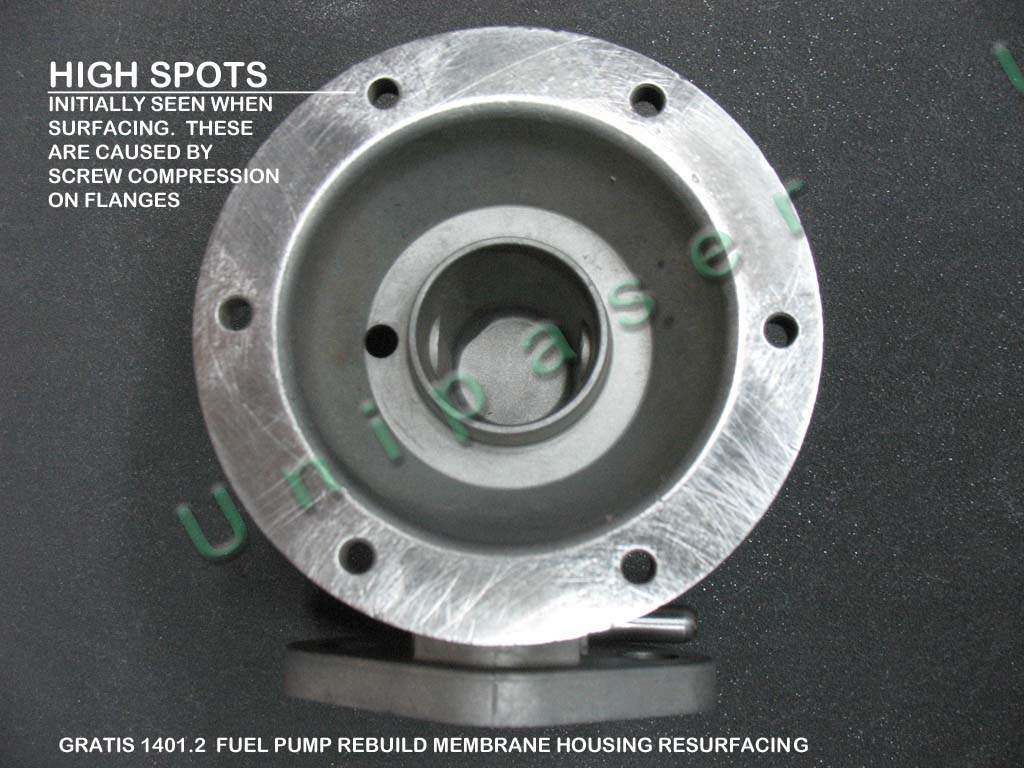
Starting with a coarse grade of emery cloth on a flat surface such as a pane of heavy glass or plex, rotate the part in a circular motion. Soon the effects of screw tension that have pulled the pump halves together, will be evident. Low spots and areas will appear darker as opposed to the clean, rough areas where the abrasion is taking effect. Pause often and remove the deposits from both the cloth and the part. You’ll be surprised on how much particulate and dust will appear.
Be patient, we have counted upwards of around 2,000 revolutions if this is done by hand. Once the low areas are almost non-existent, a medium grade of emery cloth may be used to even out the effects of material removal.
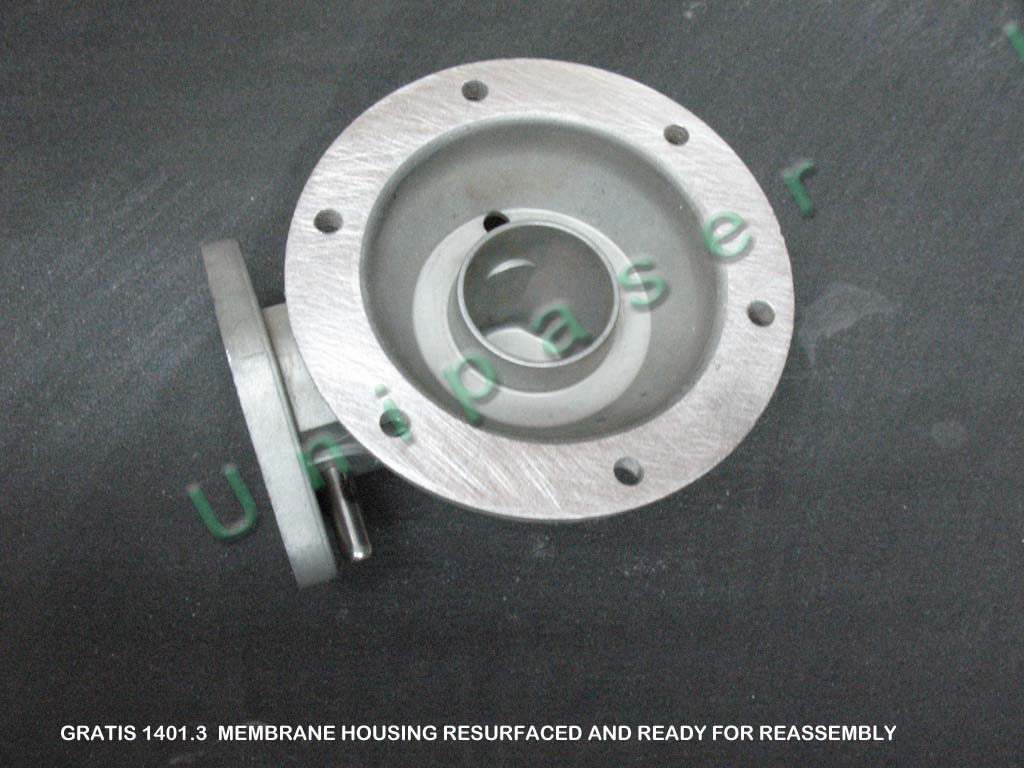
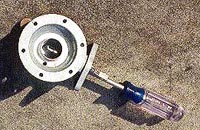
Voila ! Now your housing halves are ready for that diaphragm*, assembly and installation. You’ve saved yourself a considerable investment in a new pump ! As a postscript, and from a Gratis article in our distant past, during assembly, an aid to installing the diaphragm is the insertion of a phillips head screwdriver from the pump rear. This immobilizes the lever and eases the attachment of the shaft slot. This is one of those items that requires a little patience, some skill, and dry fingers to “feel” your way through the process. Even no thumbs Otto can do it !

* A few words on ethanol. Much has been said on the effects of ethanol on fuel systems. Generally speaking, ethanol will not affect fuel delivery with a diaphragm pump. Ethanol has been around for a long while, and used in blended fuels in varying ratios for decades. The inventors Samual Morey and Nicolas Otto are recognized as being two of the first to use ethanol in an internal combustion engine (1824 and 1860 respectively). By the 1930s ethanol was being offered in the US in proportions of from 6 to 12%. In Brazil the tendency has been to produce E85, which is 85% ethanol. Currently, in Germany, ethanol amounts to 5% to 10% of what you get in a liter of fuel. Where deleterious results are to be found in motors, in fuel storage (read tanks), delivery and combustion, it lies in the fact that ethanol attracts moisture. As such, vehicles are prone to experience failures due to the presence of moisture, often exacerbated by external sources and by periods of disuse. Our diaphragms are OEM items of quality manufacture and will give satisfactory performance when other conditions are conducive. If you live in the “corn belt” of the US, you may be offered E85 locally. This may have some effect over time, should other elements of your fuel system be wanting.
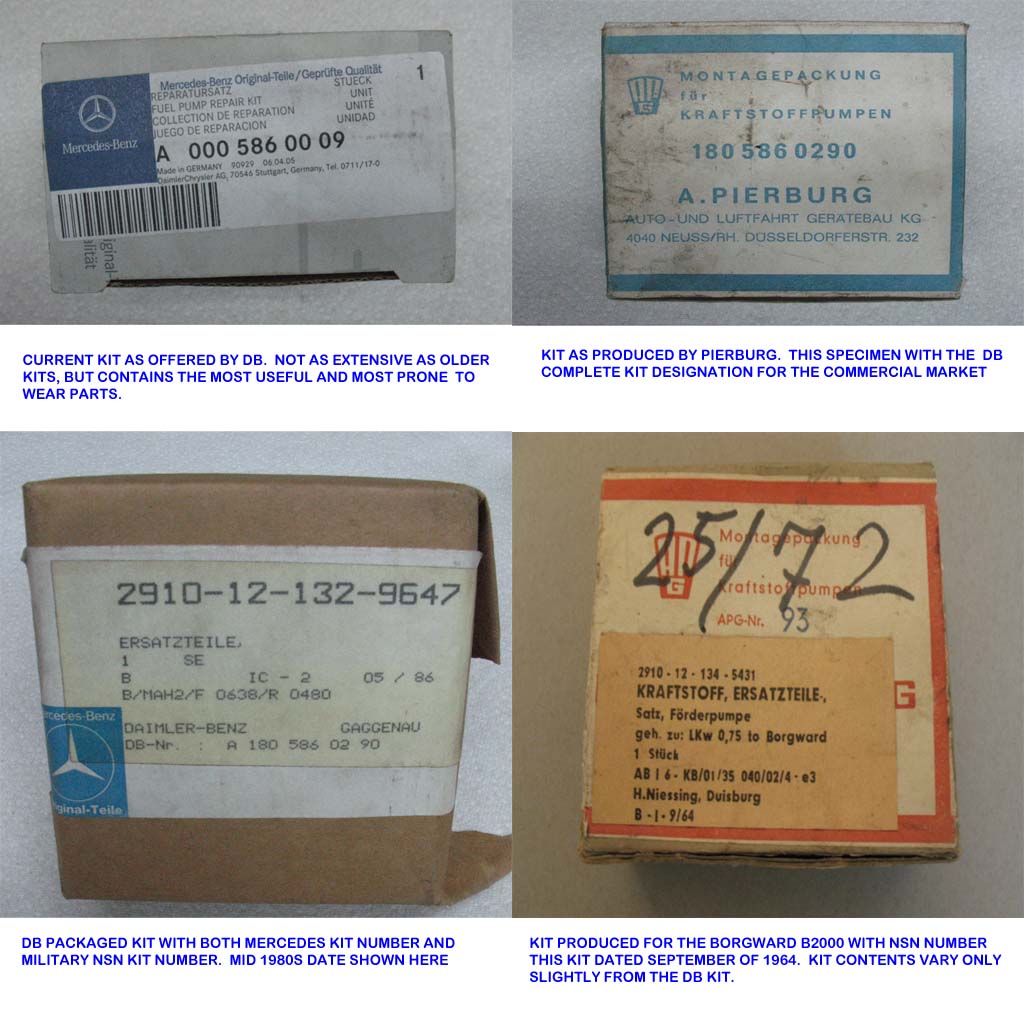
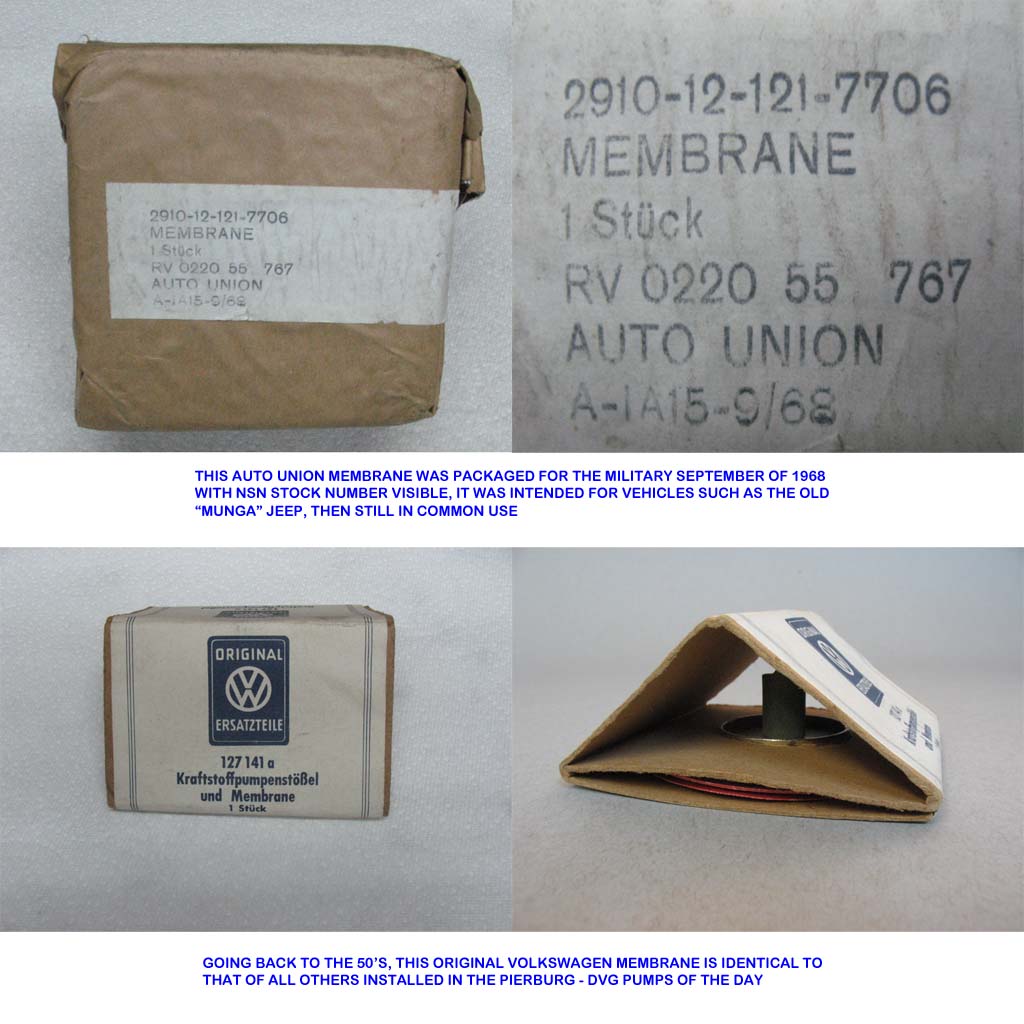
As an aside, we’ve managed to accumulate a sampling of the “kits” available over the years for the Pierburg fuel pump installed as OEM equipment in the Unimog S and numerous other vehicles of the day. Enjoy !
* Source: 2010-11 Ethanolhistory.com


